Hi!
April is here and so it is time to run around the yard and see what’s growing and waking up after the long Michigan winter! Of course, some of the plants poised to get a jump on the season are WEEDS!
Many gardeners I know struggle each season with invasive weeds that spread like crazy. Some invasives are biennials, meaning that they overwinter in an immature state and take up to two years to complete their life cycle. Invasive weeds usually succeed by making hundreds if not thousands of seeds per plant. If even a few of these seeds sprout and grow, you are guaranteed another crop of weeds the next season!
Garlic Mustard, Dame’s Rocket, and Spotted Knap-weed are all problems in my own yard. Most of us know what these look like when they are blooming, but the best time to deal with them is before that happens! Some plants like a garlic mustard that’s already blooming, can continue to make viable seeds even after they are pulled out of the ground!
Here are a few photos of the usual suspects in their pre-bloom stage. Take a close look at the photos and tour your garden and the edges of your yard to see if you find them.

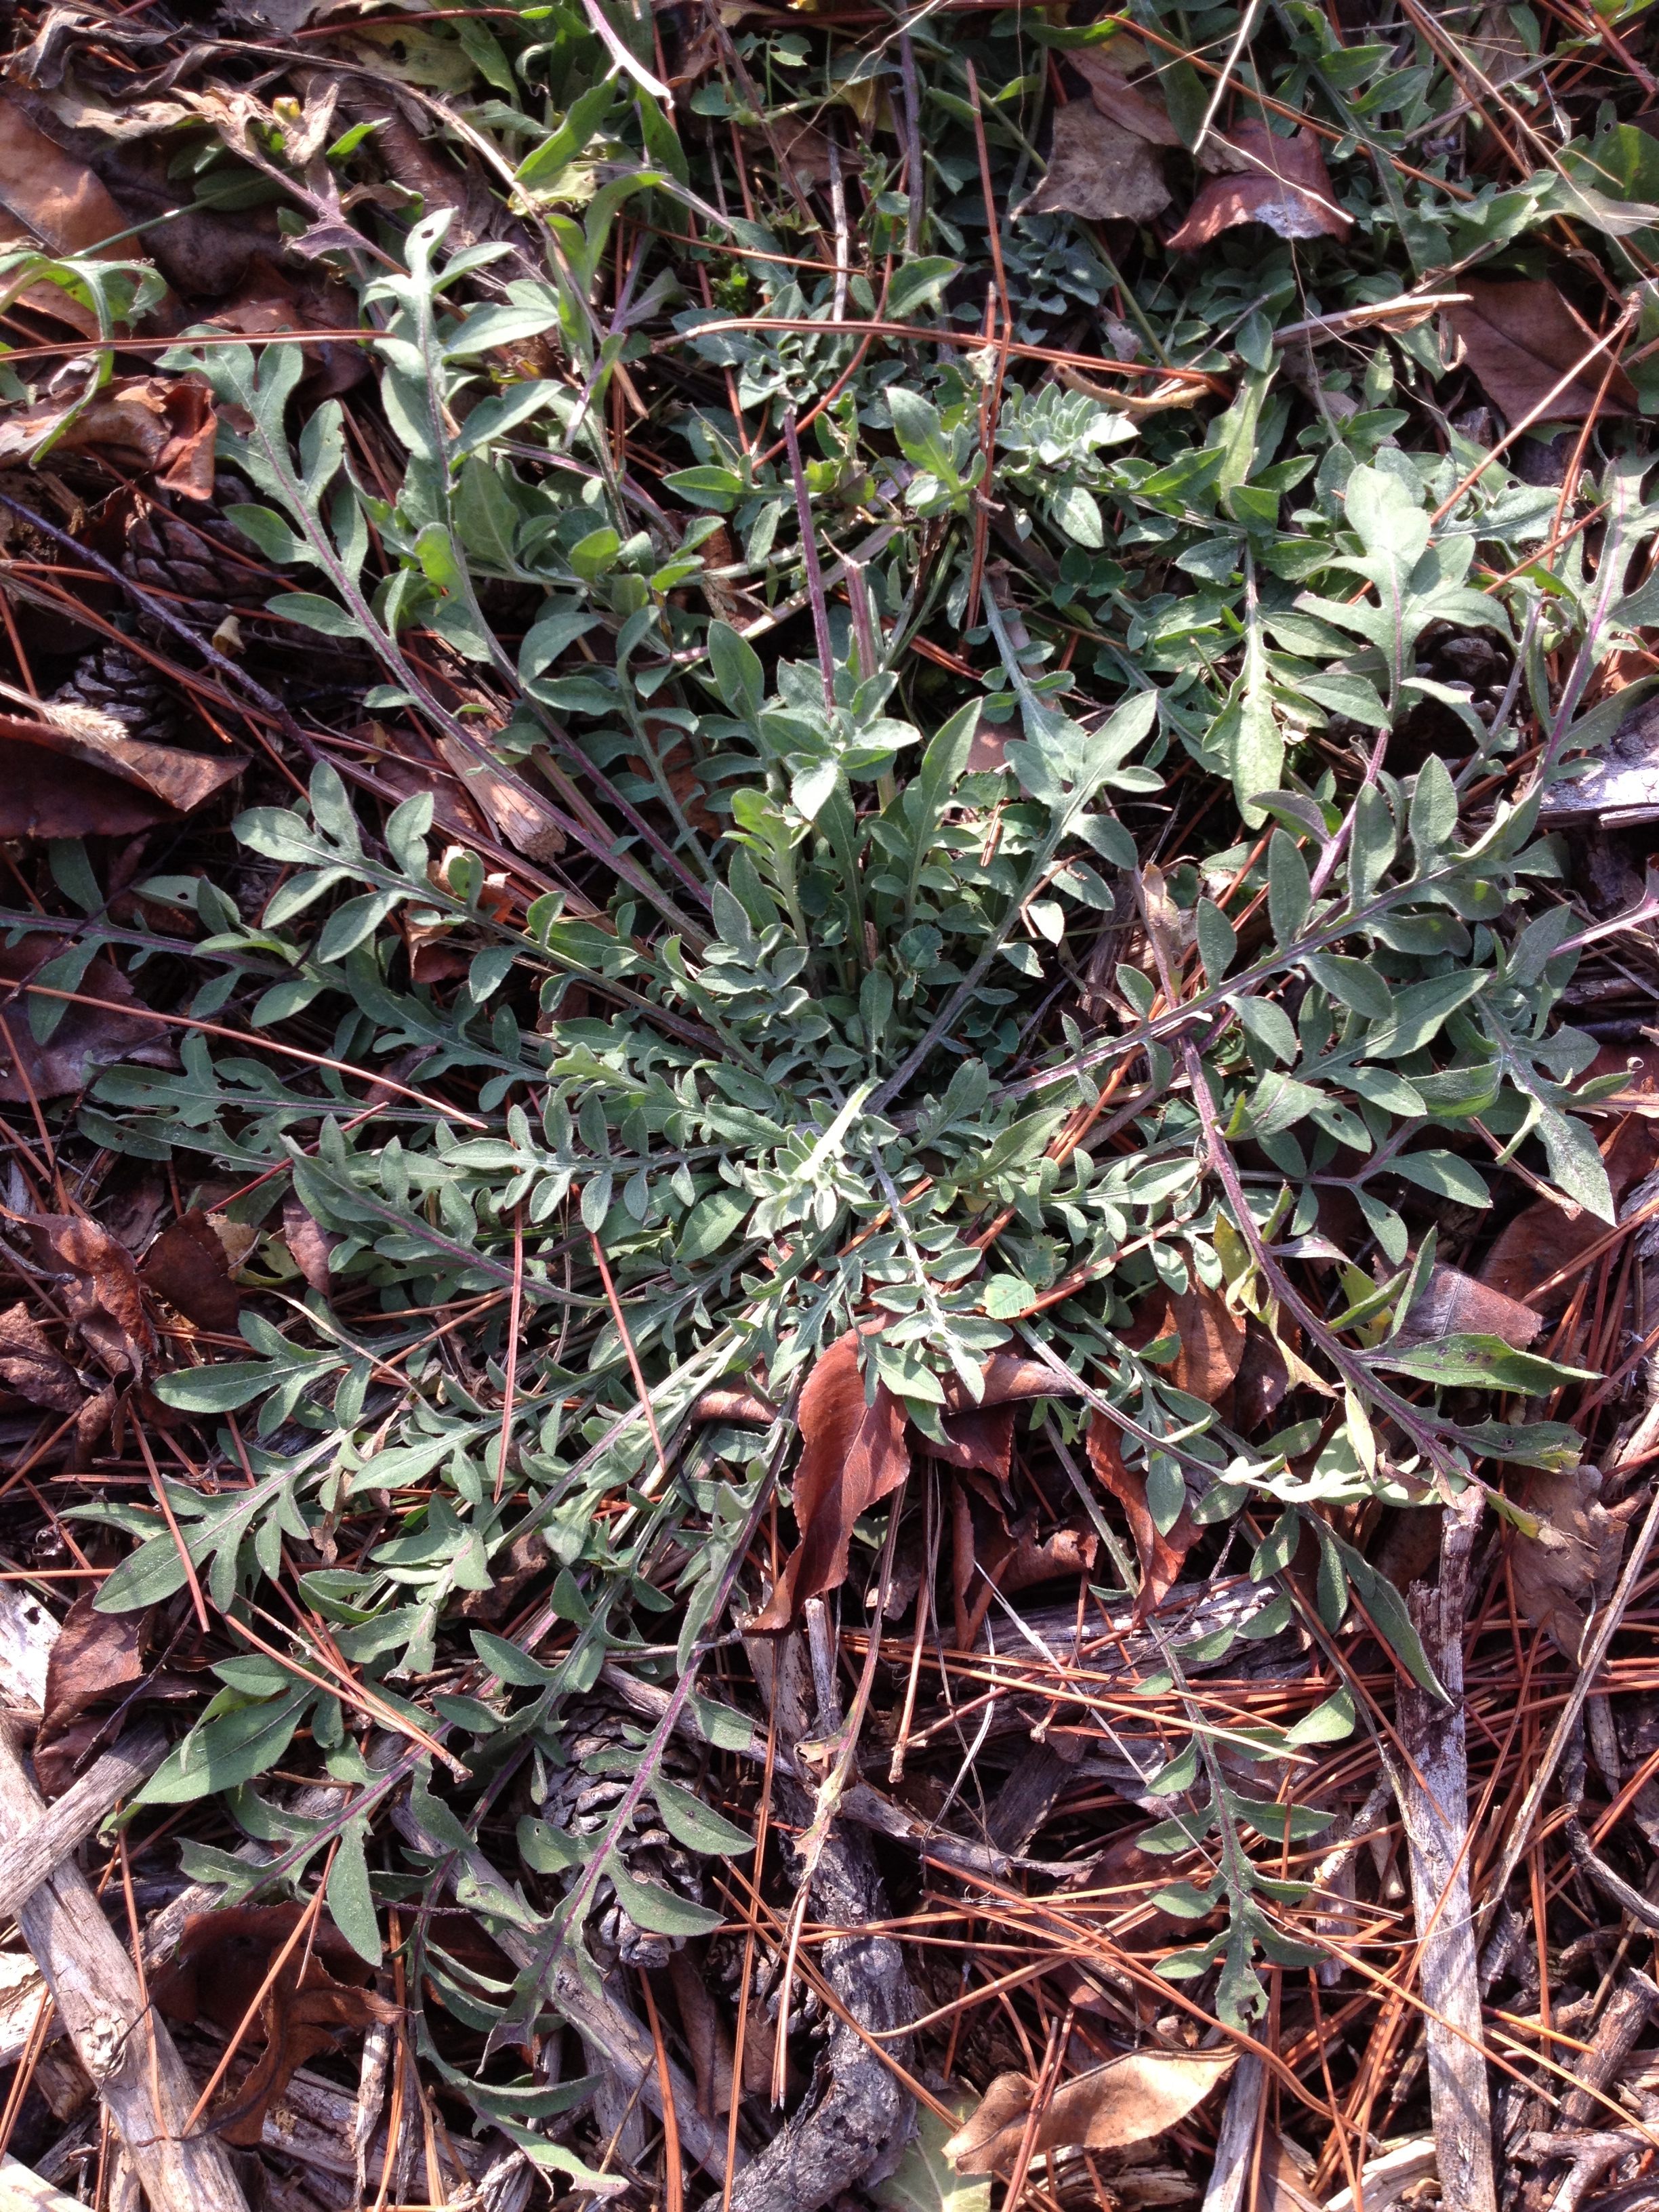
Spotted Knap-weed
Blooms like a small lavender thistle flower in mid-summer

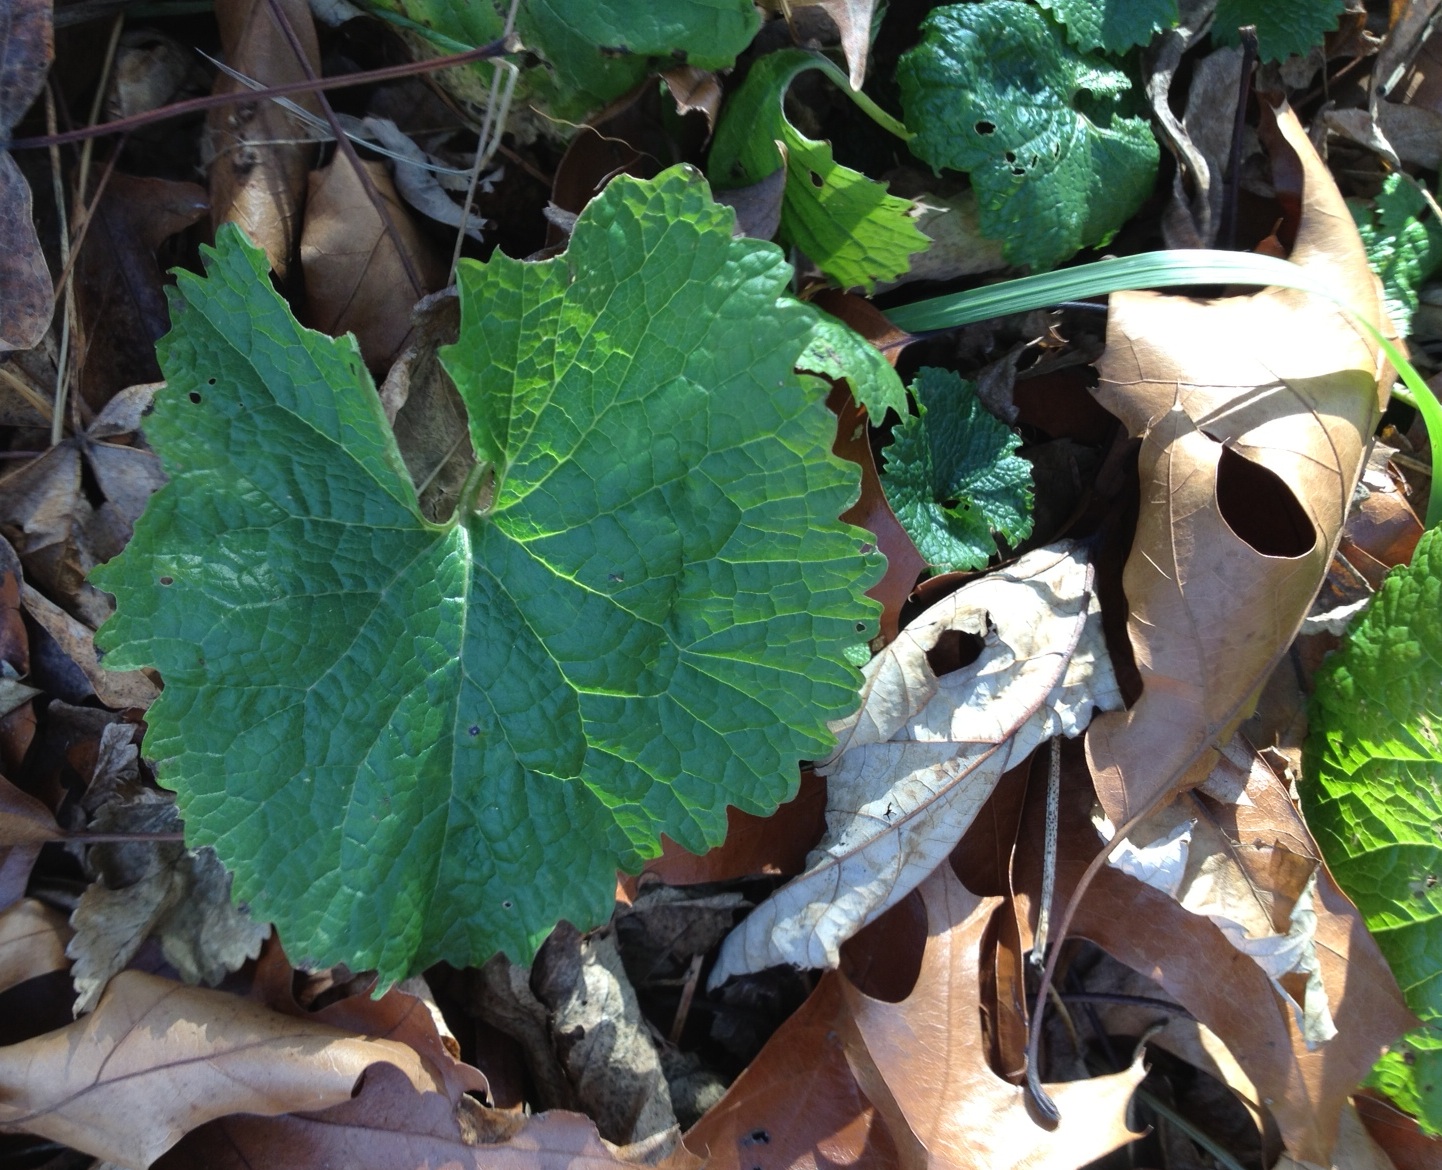
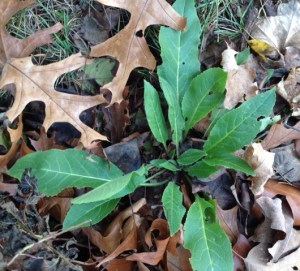
Garlic Mustard
Note the frilly leaf edges and prominent vein structure. Blooms in Spring with many white 4-petaled flowers on a stalk. This weed is sometimes confused with violets before it bolts to bloom.
Dame’s Rocket
Blooms pink, white or lavender. Looks a little like phlox, but it has only 4 petals and flowers in Spring.
If you find these weeds, pull them up making sure to get the whole plant with the roots attached. Then cover the bare spot with mulch or leaf litter to shade the ground and keep dormant weed seeds from sprouting.
Yard waste is not generally allowed in trash pickup bins. However, Michigan has left an opening in this policy for “noxious” weeds. If, on the other hand, you’d prefer to compost your weed matter you have several options:
1. Place the pulled weeds in a black plastic bag. Close it tight and set it in the sun for couple of weeks to “cook” the weeds before dumping the now slimy, stinky weed guck into the compost heap. If it’s not slimy and stinky, it probably hasn’t cooked enough. Add water and let it sit in the sun some more. If it is slimy and stinky, it has anaerobic bacteria in it. Add it to an active compost heap rather than a finished one.
2. Somewhat more pleasant – mix the “green” fresh weed matter with “brown” compost materials like dried leaves or wood chips. If you have enough material for a 5 x 5 x 3 foot pile you can do “hot” composting! Layer the materials alternately and spray them down with the hose. Add a little bit of garden soil or finished compost after each layer to introduce microbes. Cover the whole thing with a tarp and check back in a day or two to see if the pile is warm. Hot composting uses microbial activity to digest the “green” nitrogen rich material with the “brown” carbon rich material. If your pile has the right balance between moisture, oxygen, carbon, and nitrogen, the pile will develop enough heat to kill weed seeds and pathogens. Then you are well on your way to turning noxious weeds into valuable compost!
Here’s hoping you win your weed battles this spring!

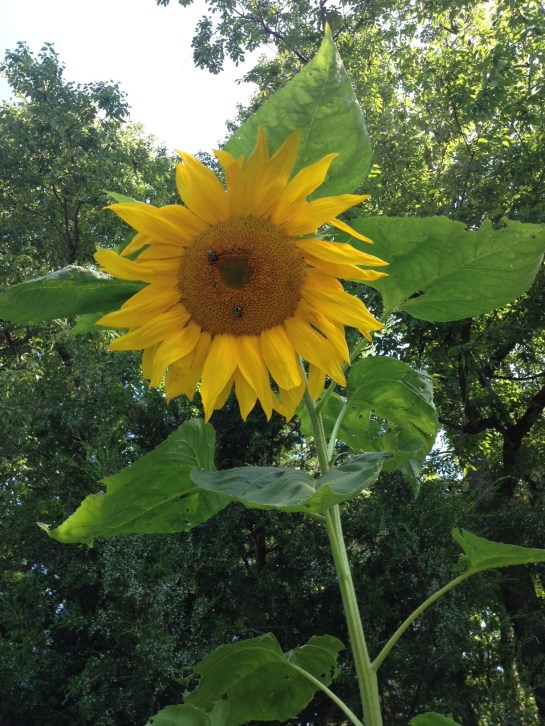
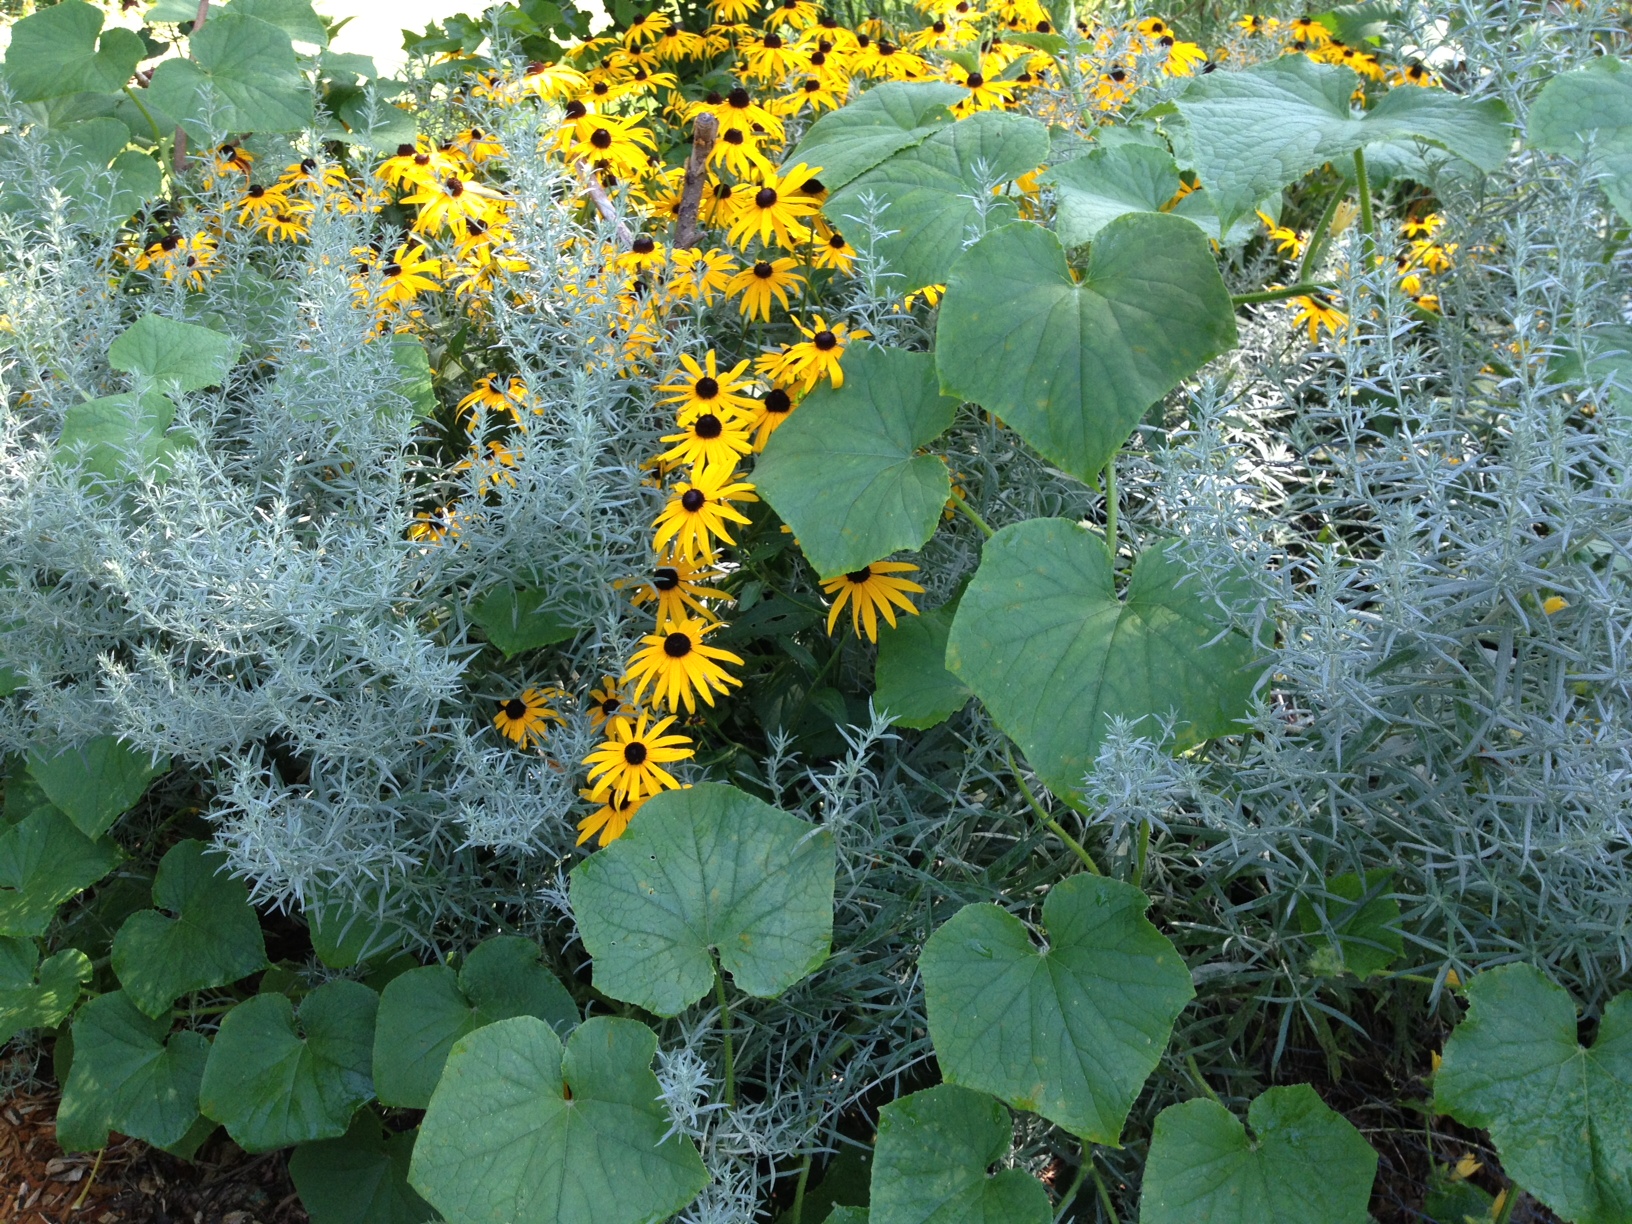
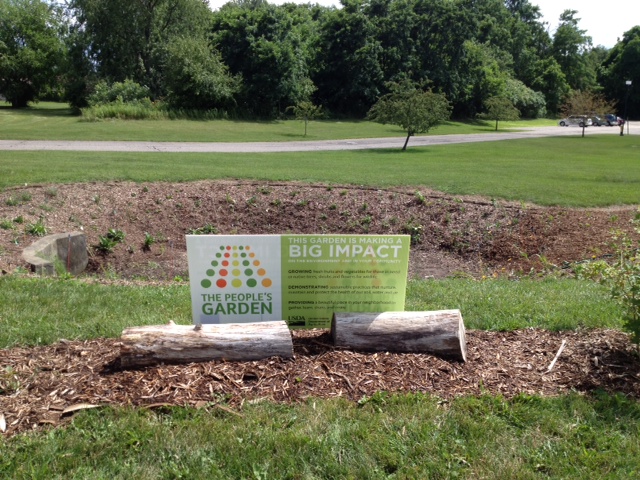
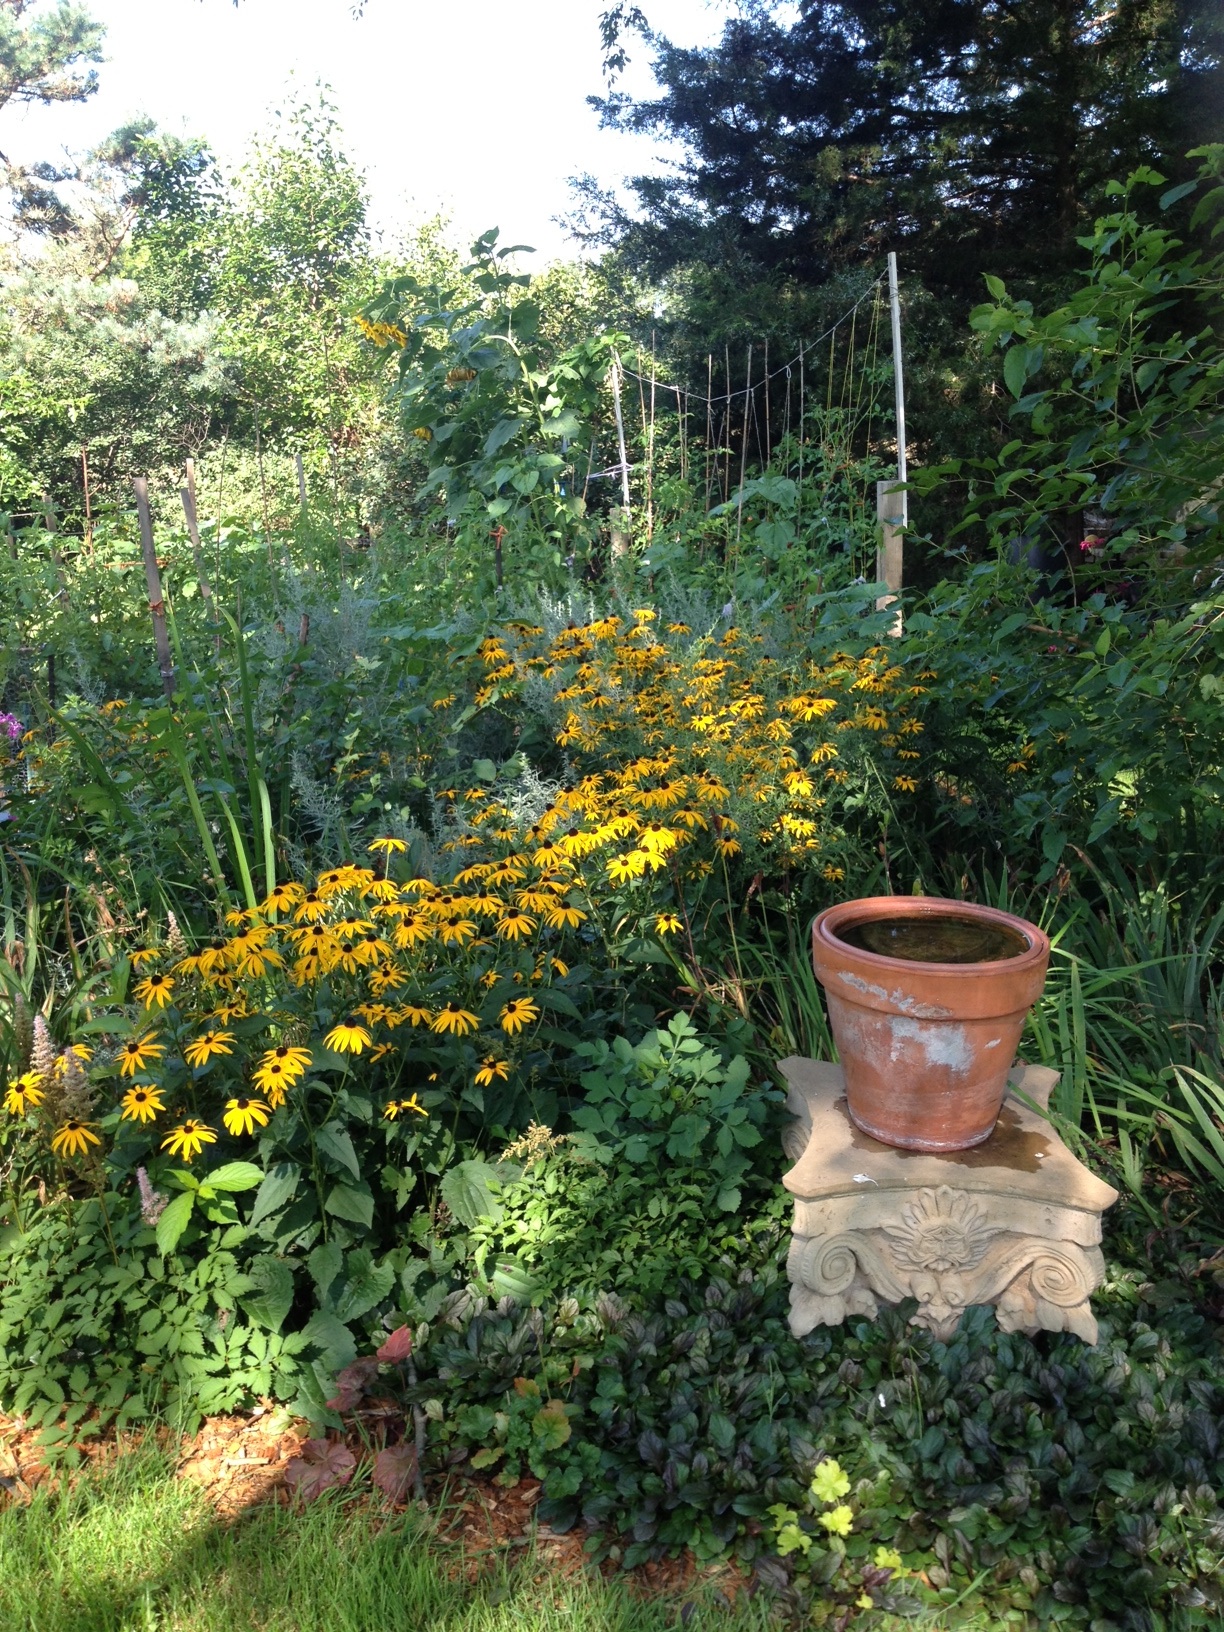 Can you find the sunflower pictured in the first photo? Do you know where the cucumbers are hidden? Integrating vegetable plants with ornamentals creates a soft transition between the veggie patch and the surrounding landscape.