
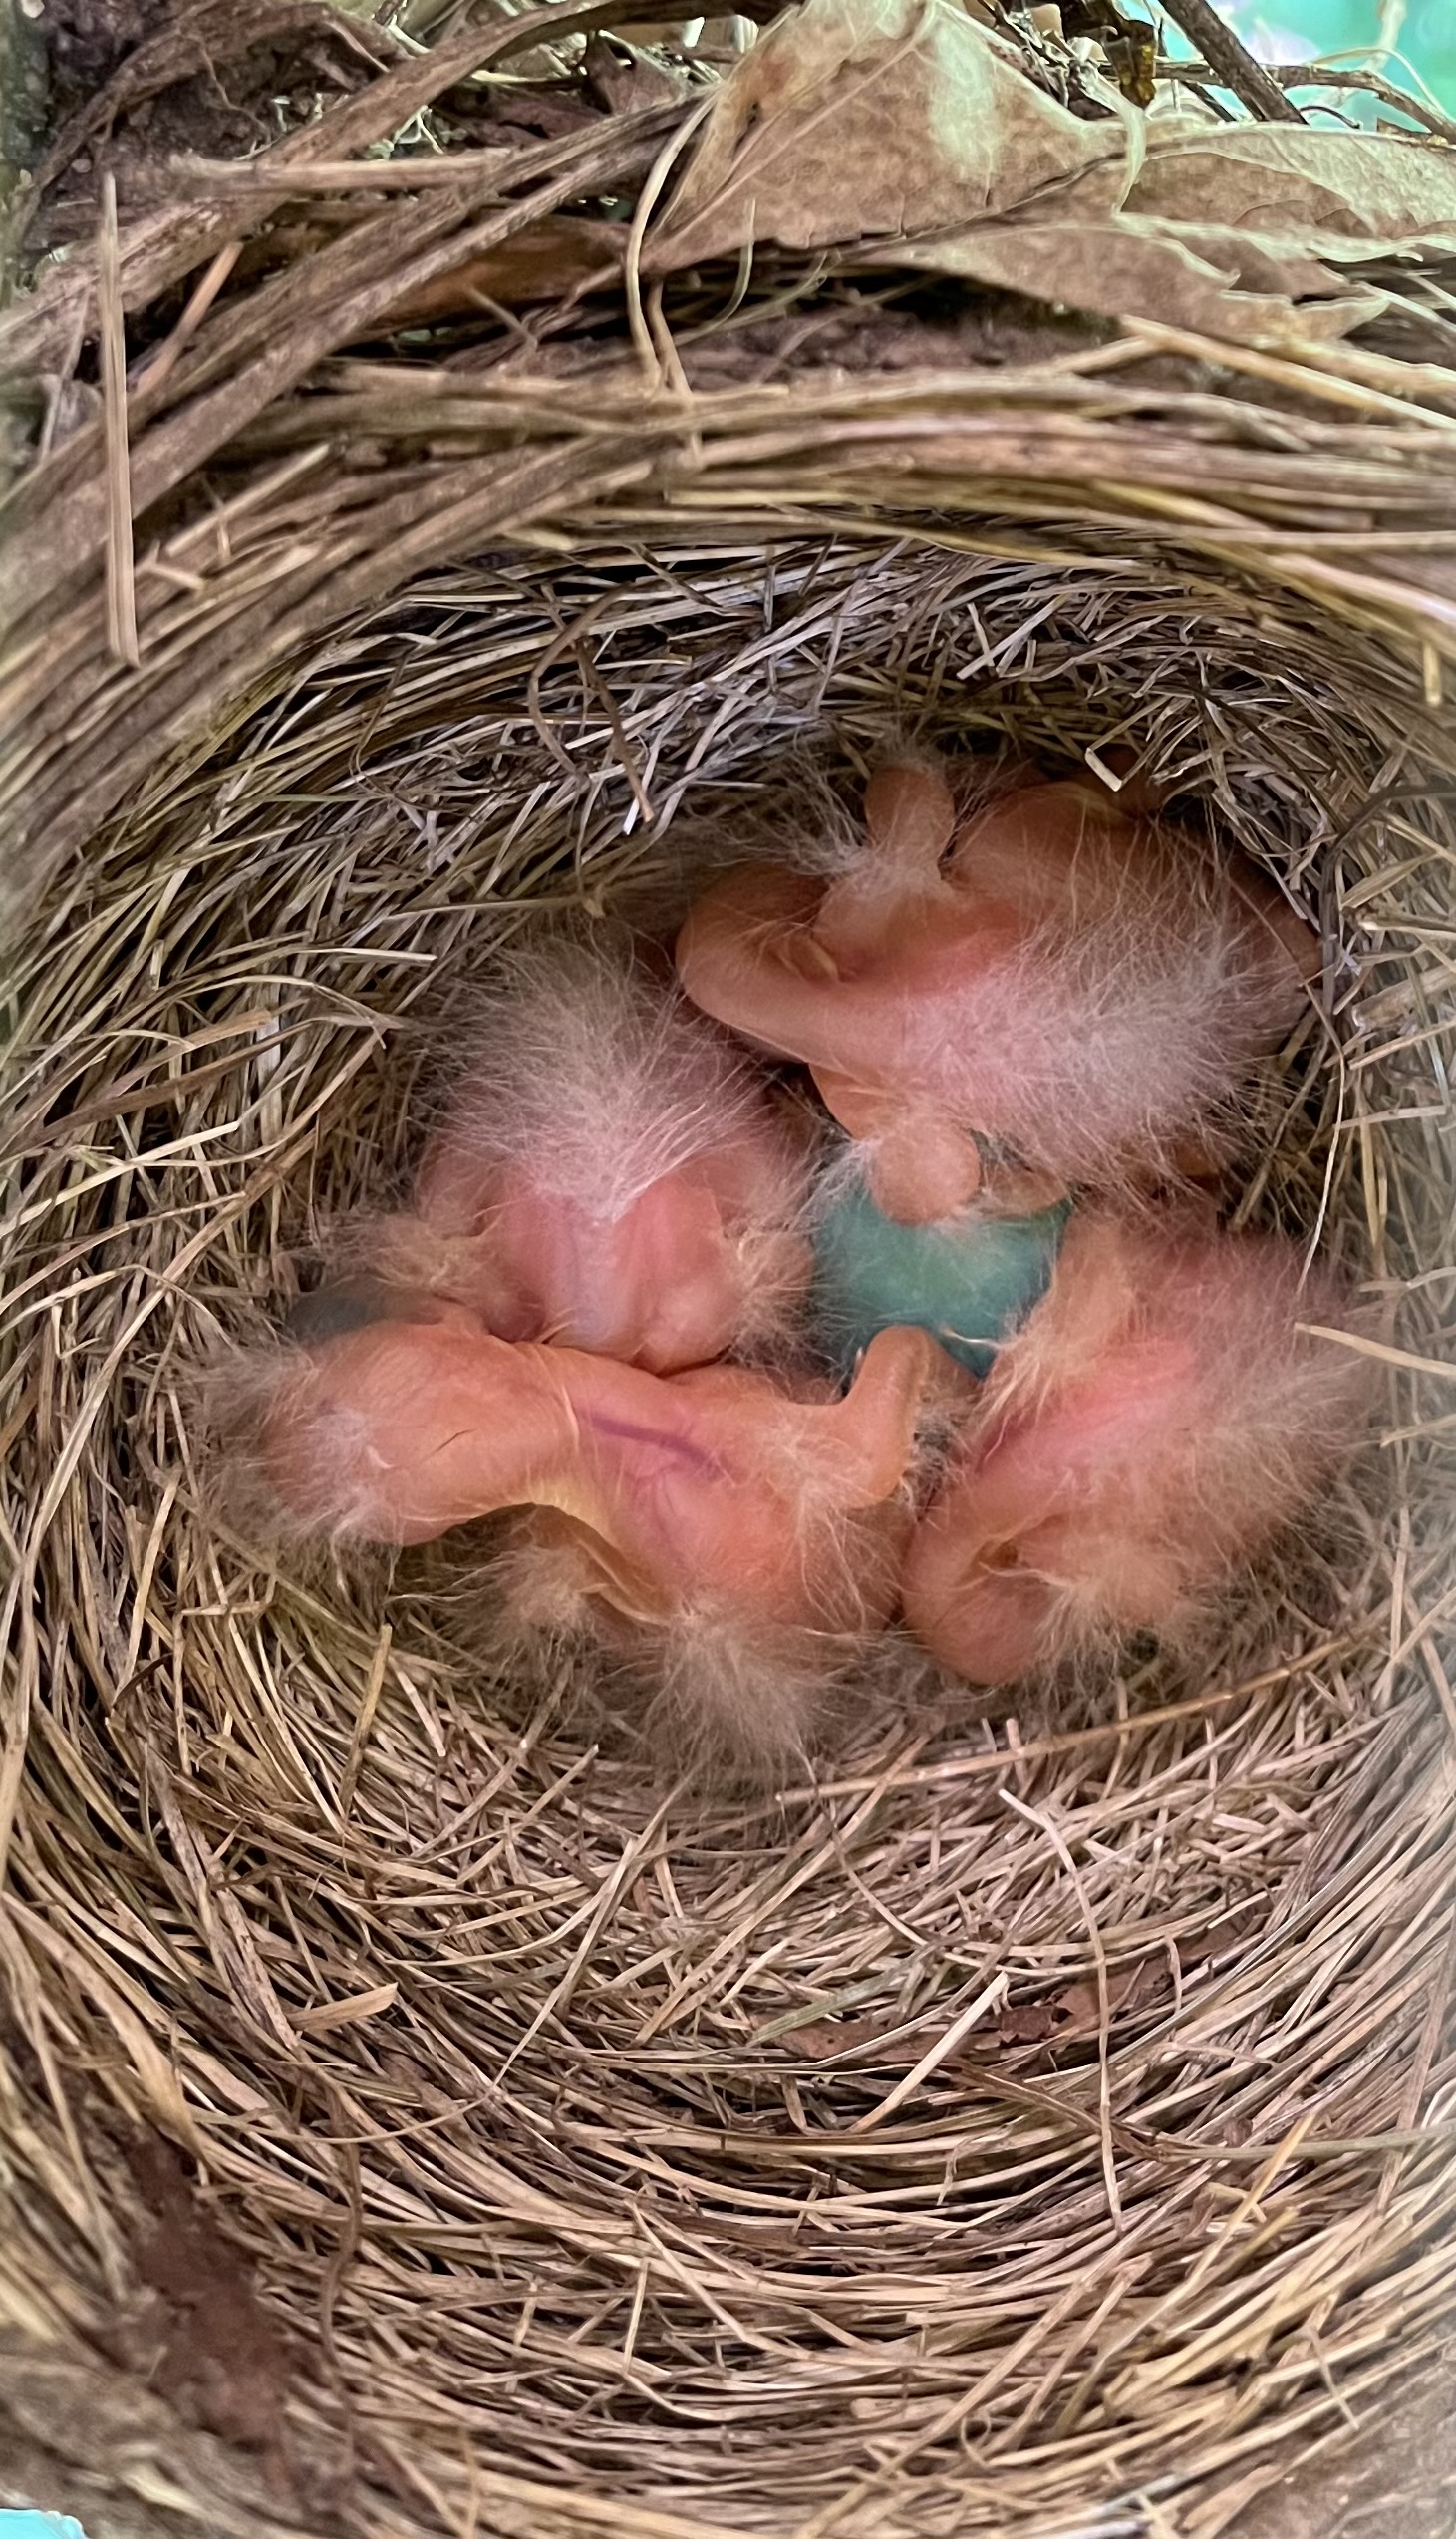
Afterward I covered the nest again with autumn leaves with hopes that the vole family will recover from their unexpected public appearance.
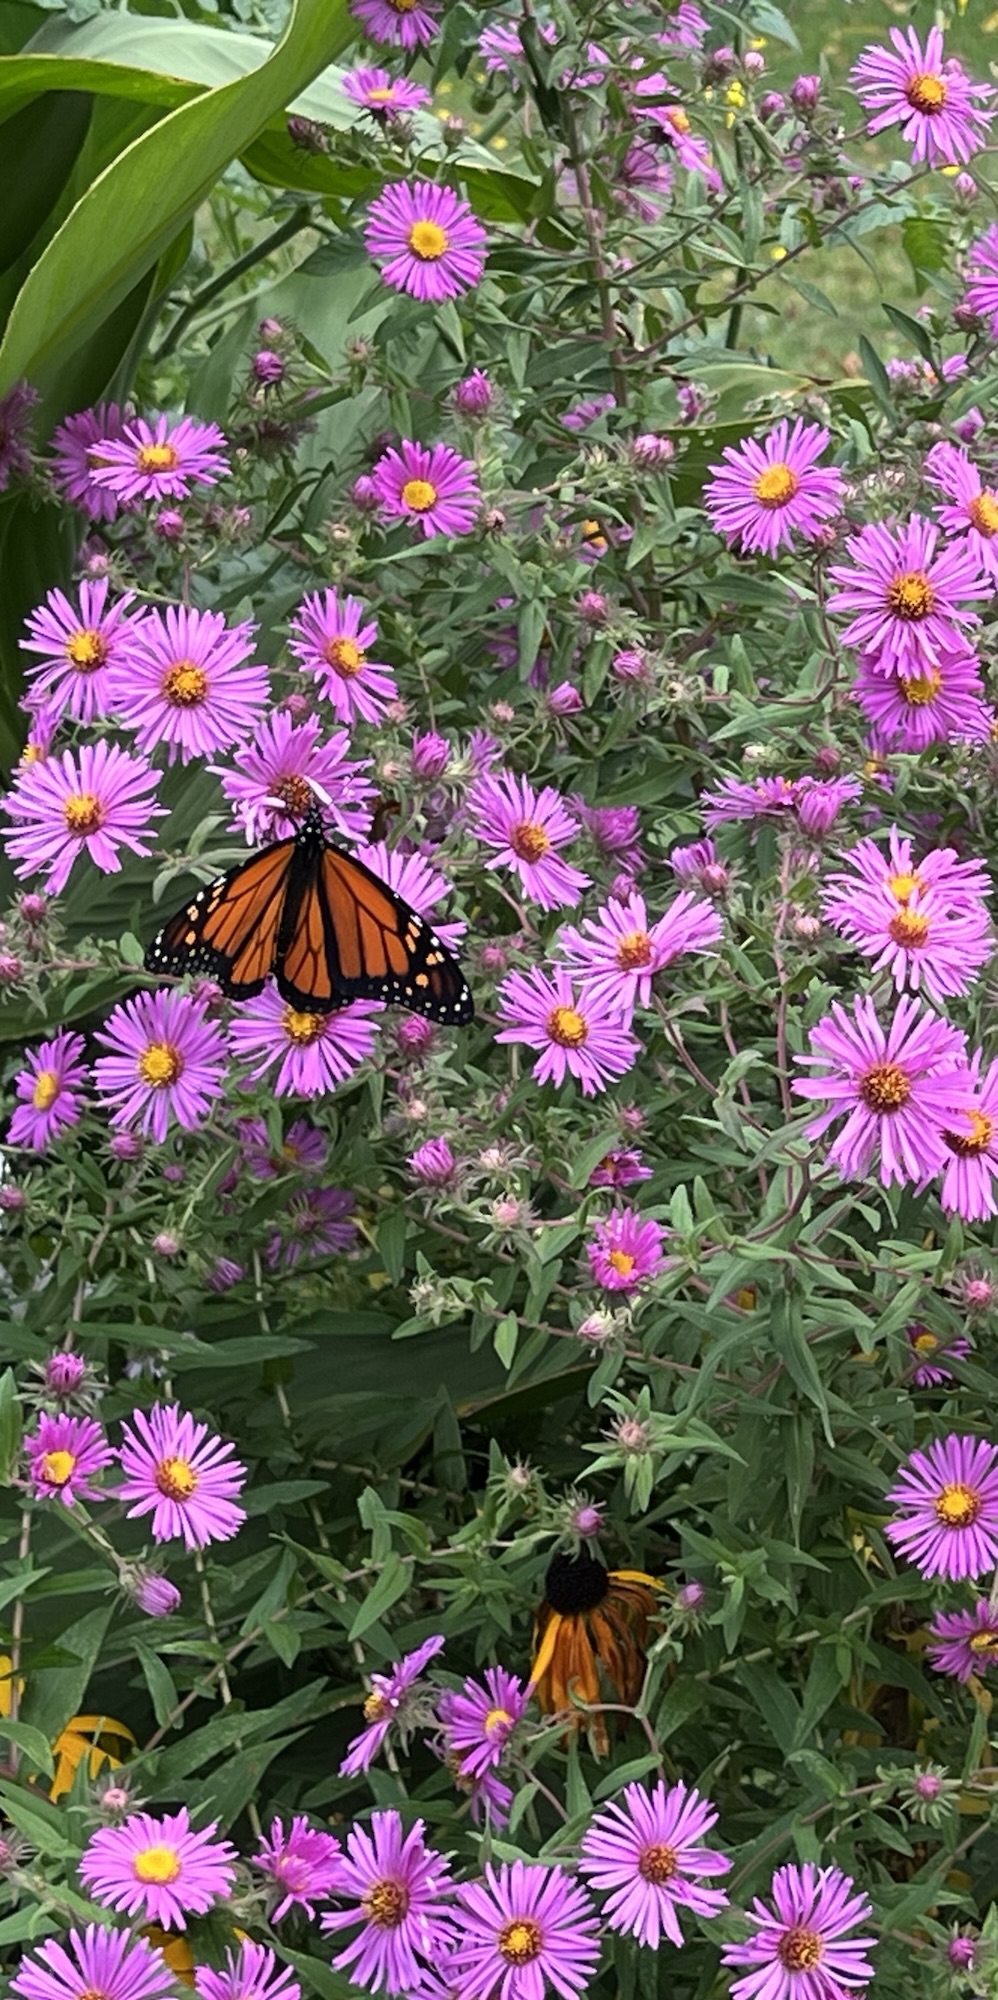
Four monarch butterflies graced the New England aster at the same time!
Also there are three large caterpillars on the nearby milkweed.
Several seasons of effort expanding my gardens for wildlife habitat is starting to get noticeable results!
The songbirds seem to love the place and I’ve seen more bees this year than ever
Spring has been slowly approaching this year. I am impatient but also grateful not to have wild swings in temperatures that stress the flowering trees and shrubs I love. Daffodils and forsythia have just begun. The redbuds seem to be holding their breath waiting for a day or two more of warm weather.
Spring peepers sang in the bogs just before the last snowfall. Juncos still flock under the bird feeder, but the goldfinches are shifting into their summer clothes.
Soon, very soon, the garden will spring to life!
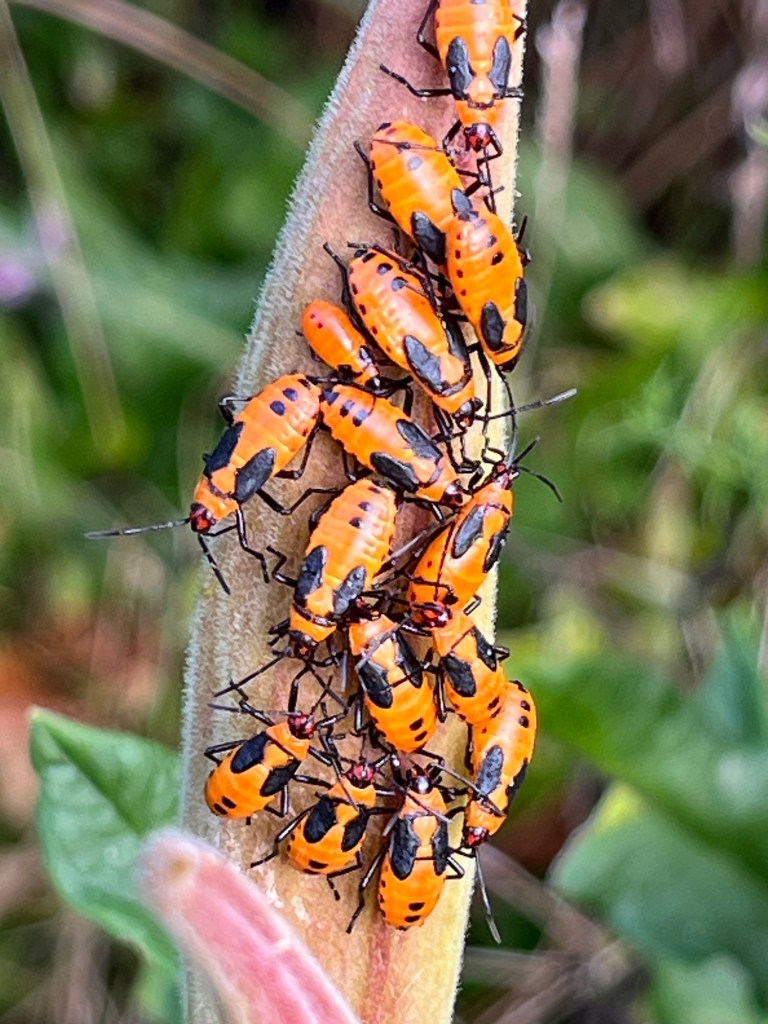
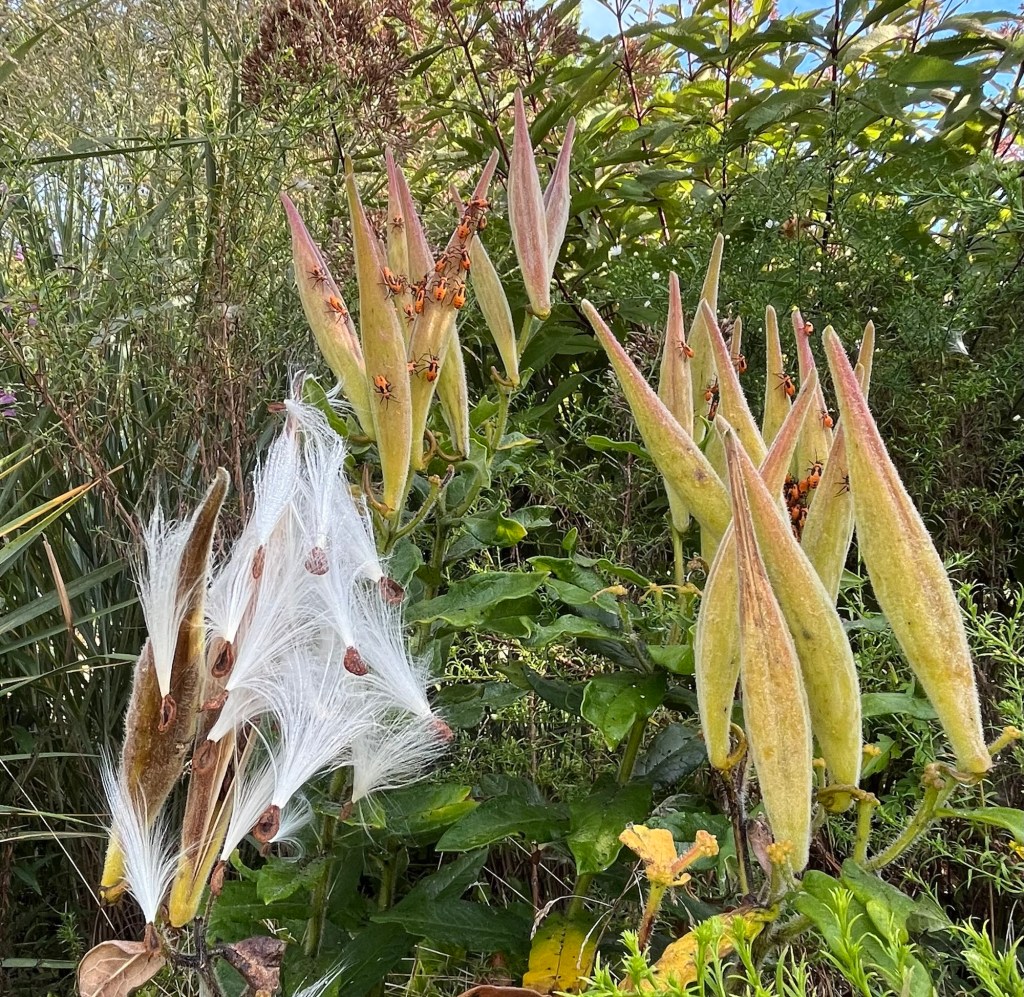
Orange and black milkweed bugs are enjoying the butterfly weed as the seed pods begin to open.
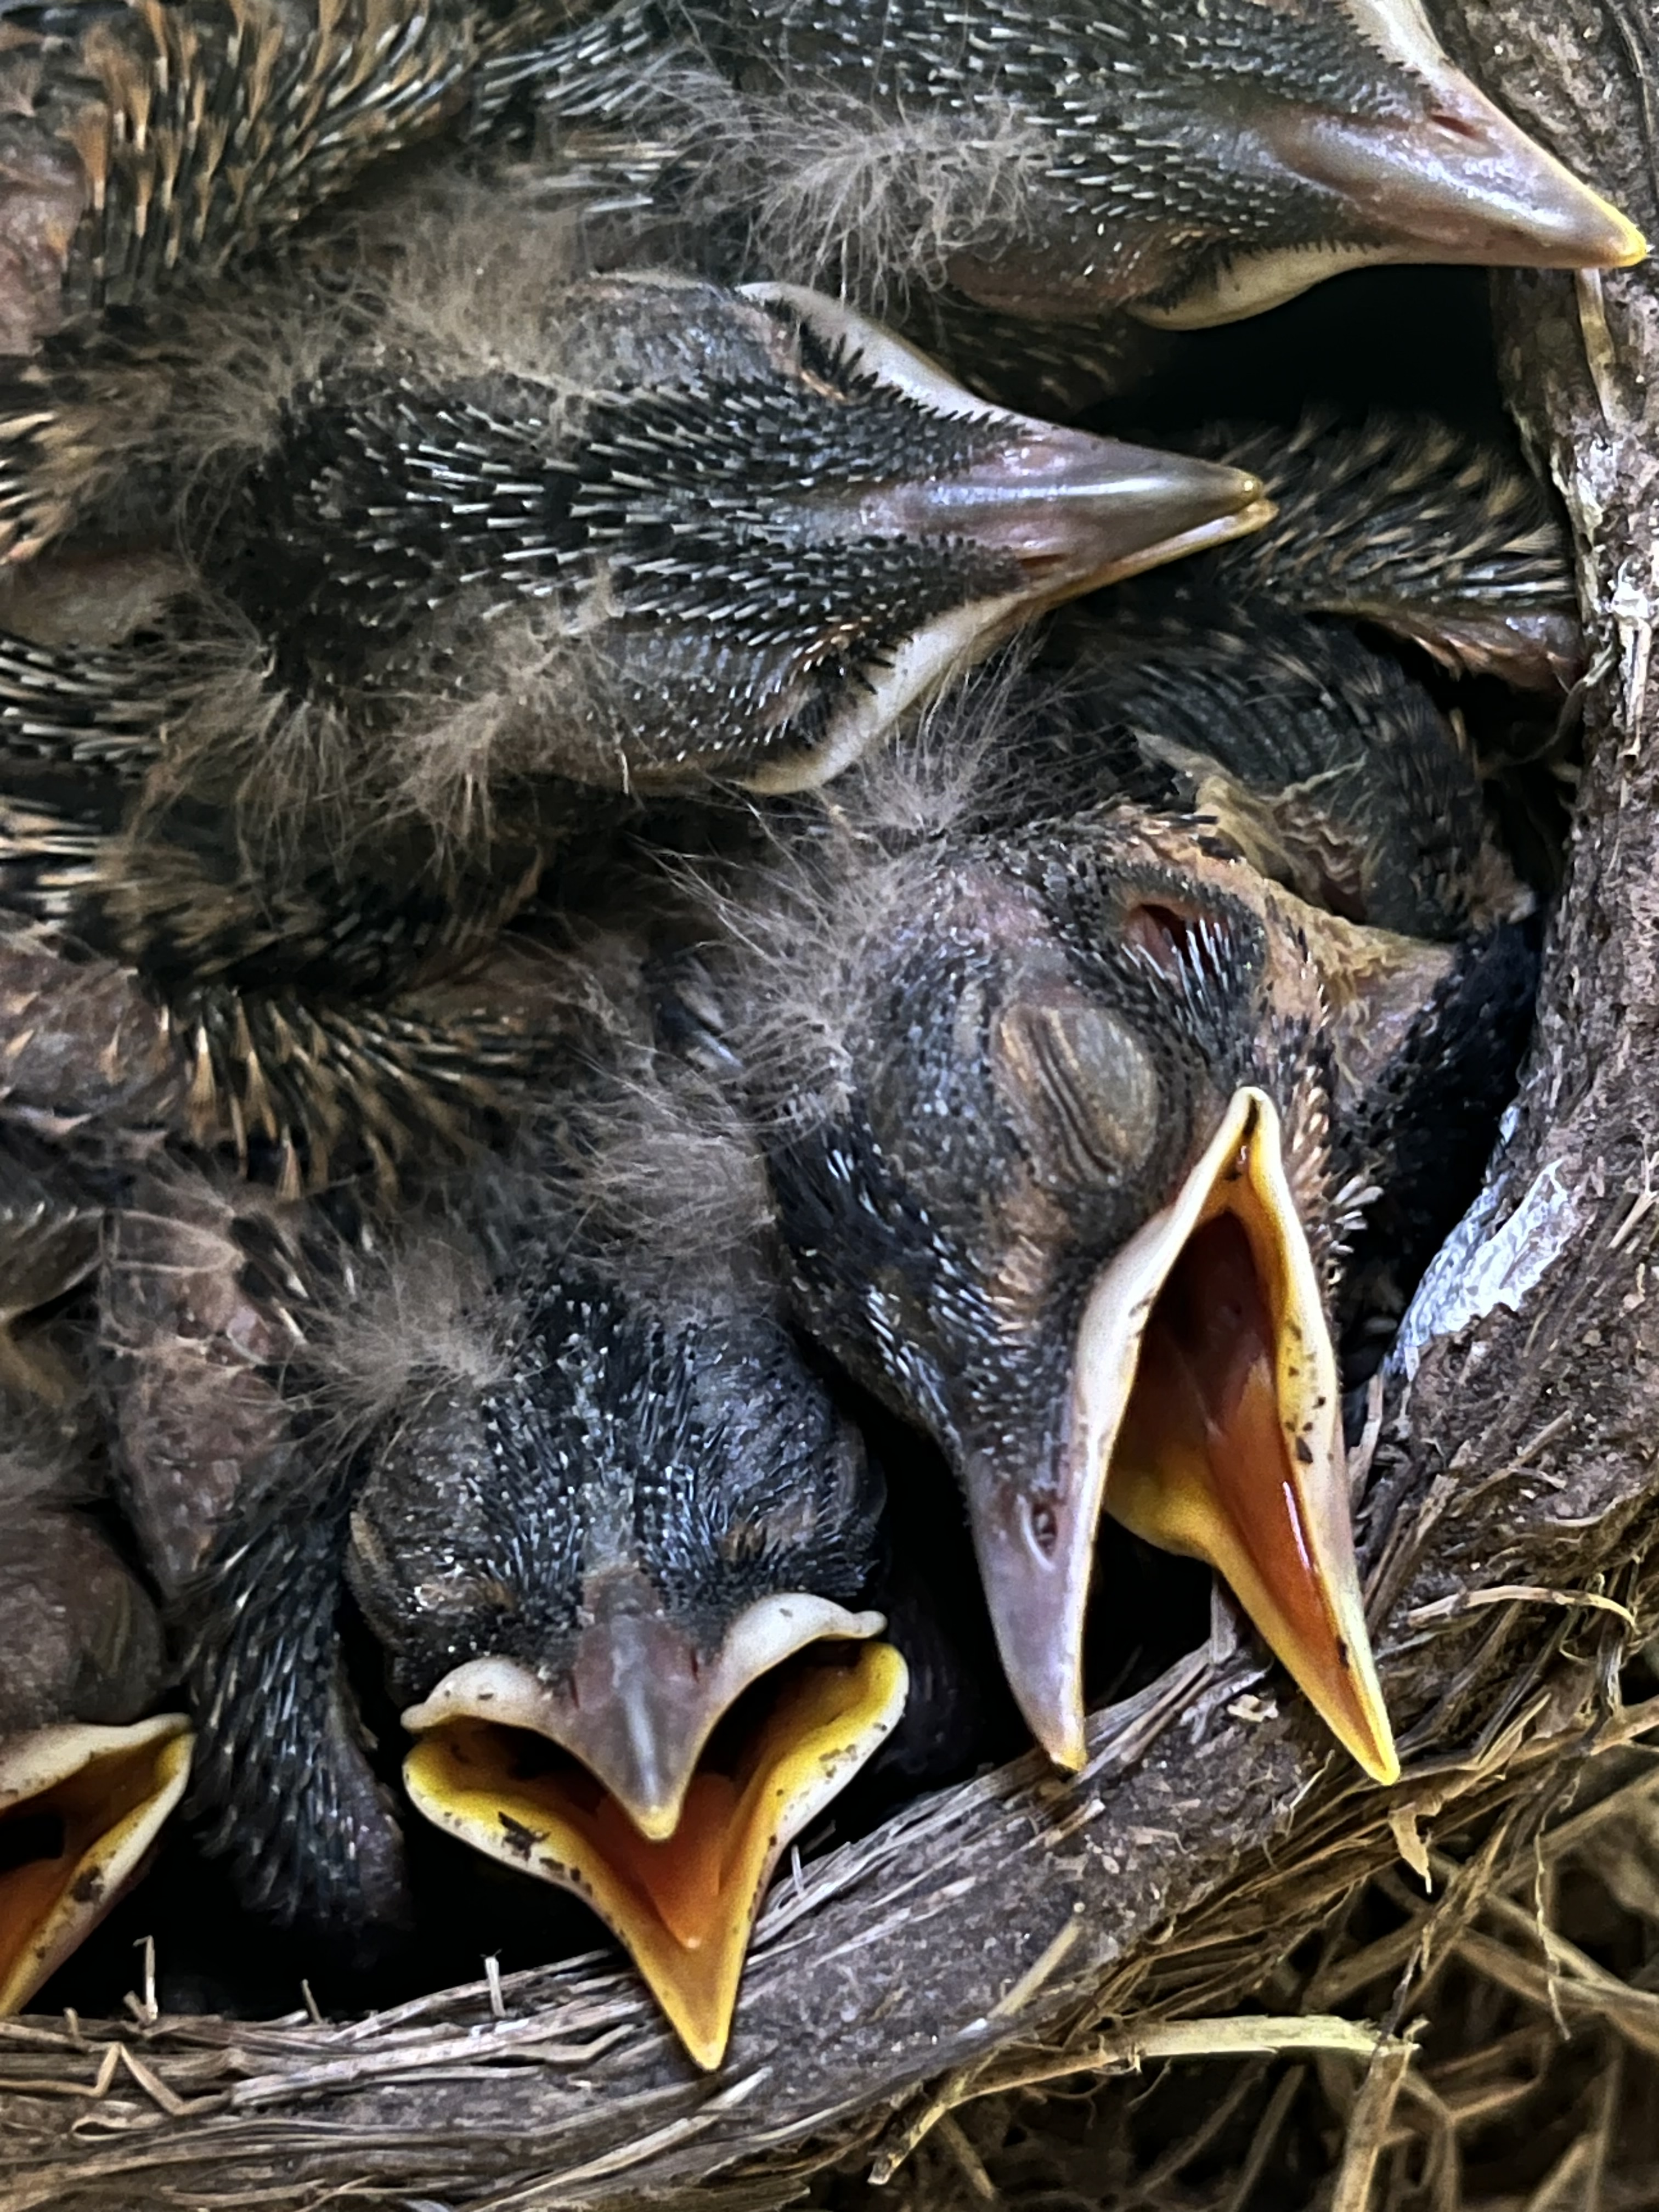
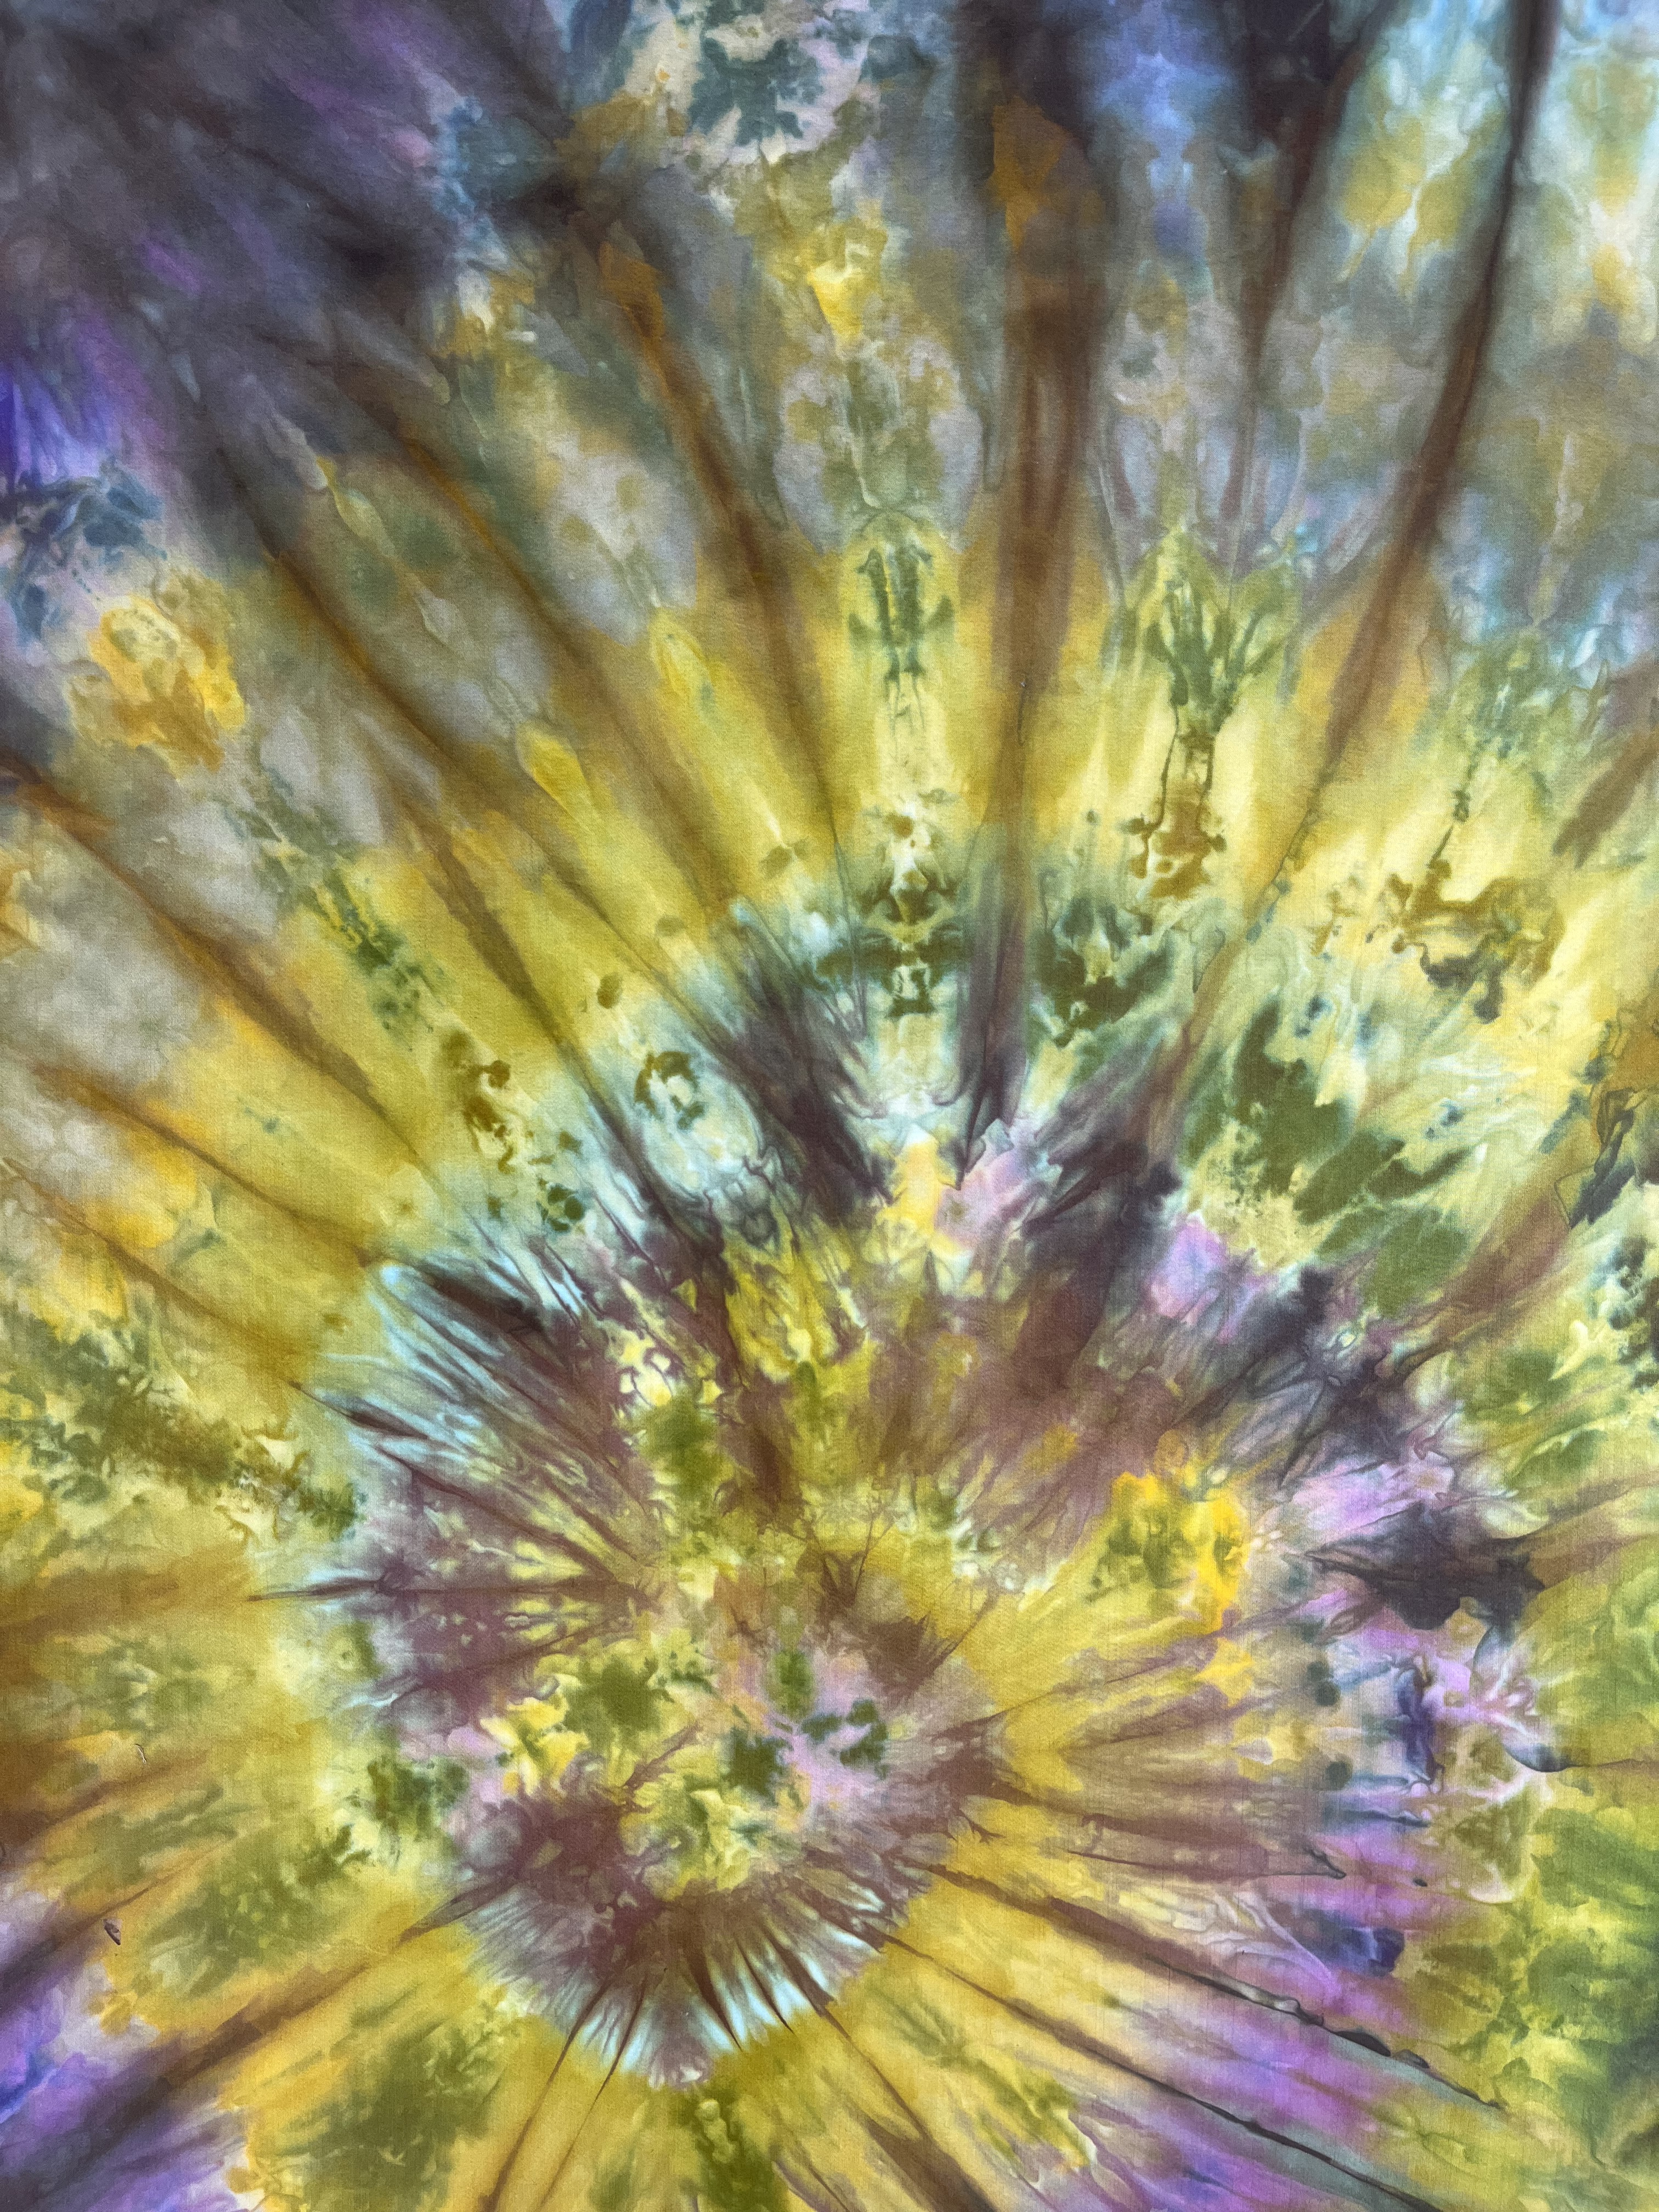
Growing feathers
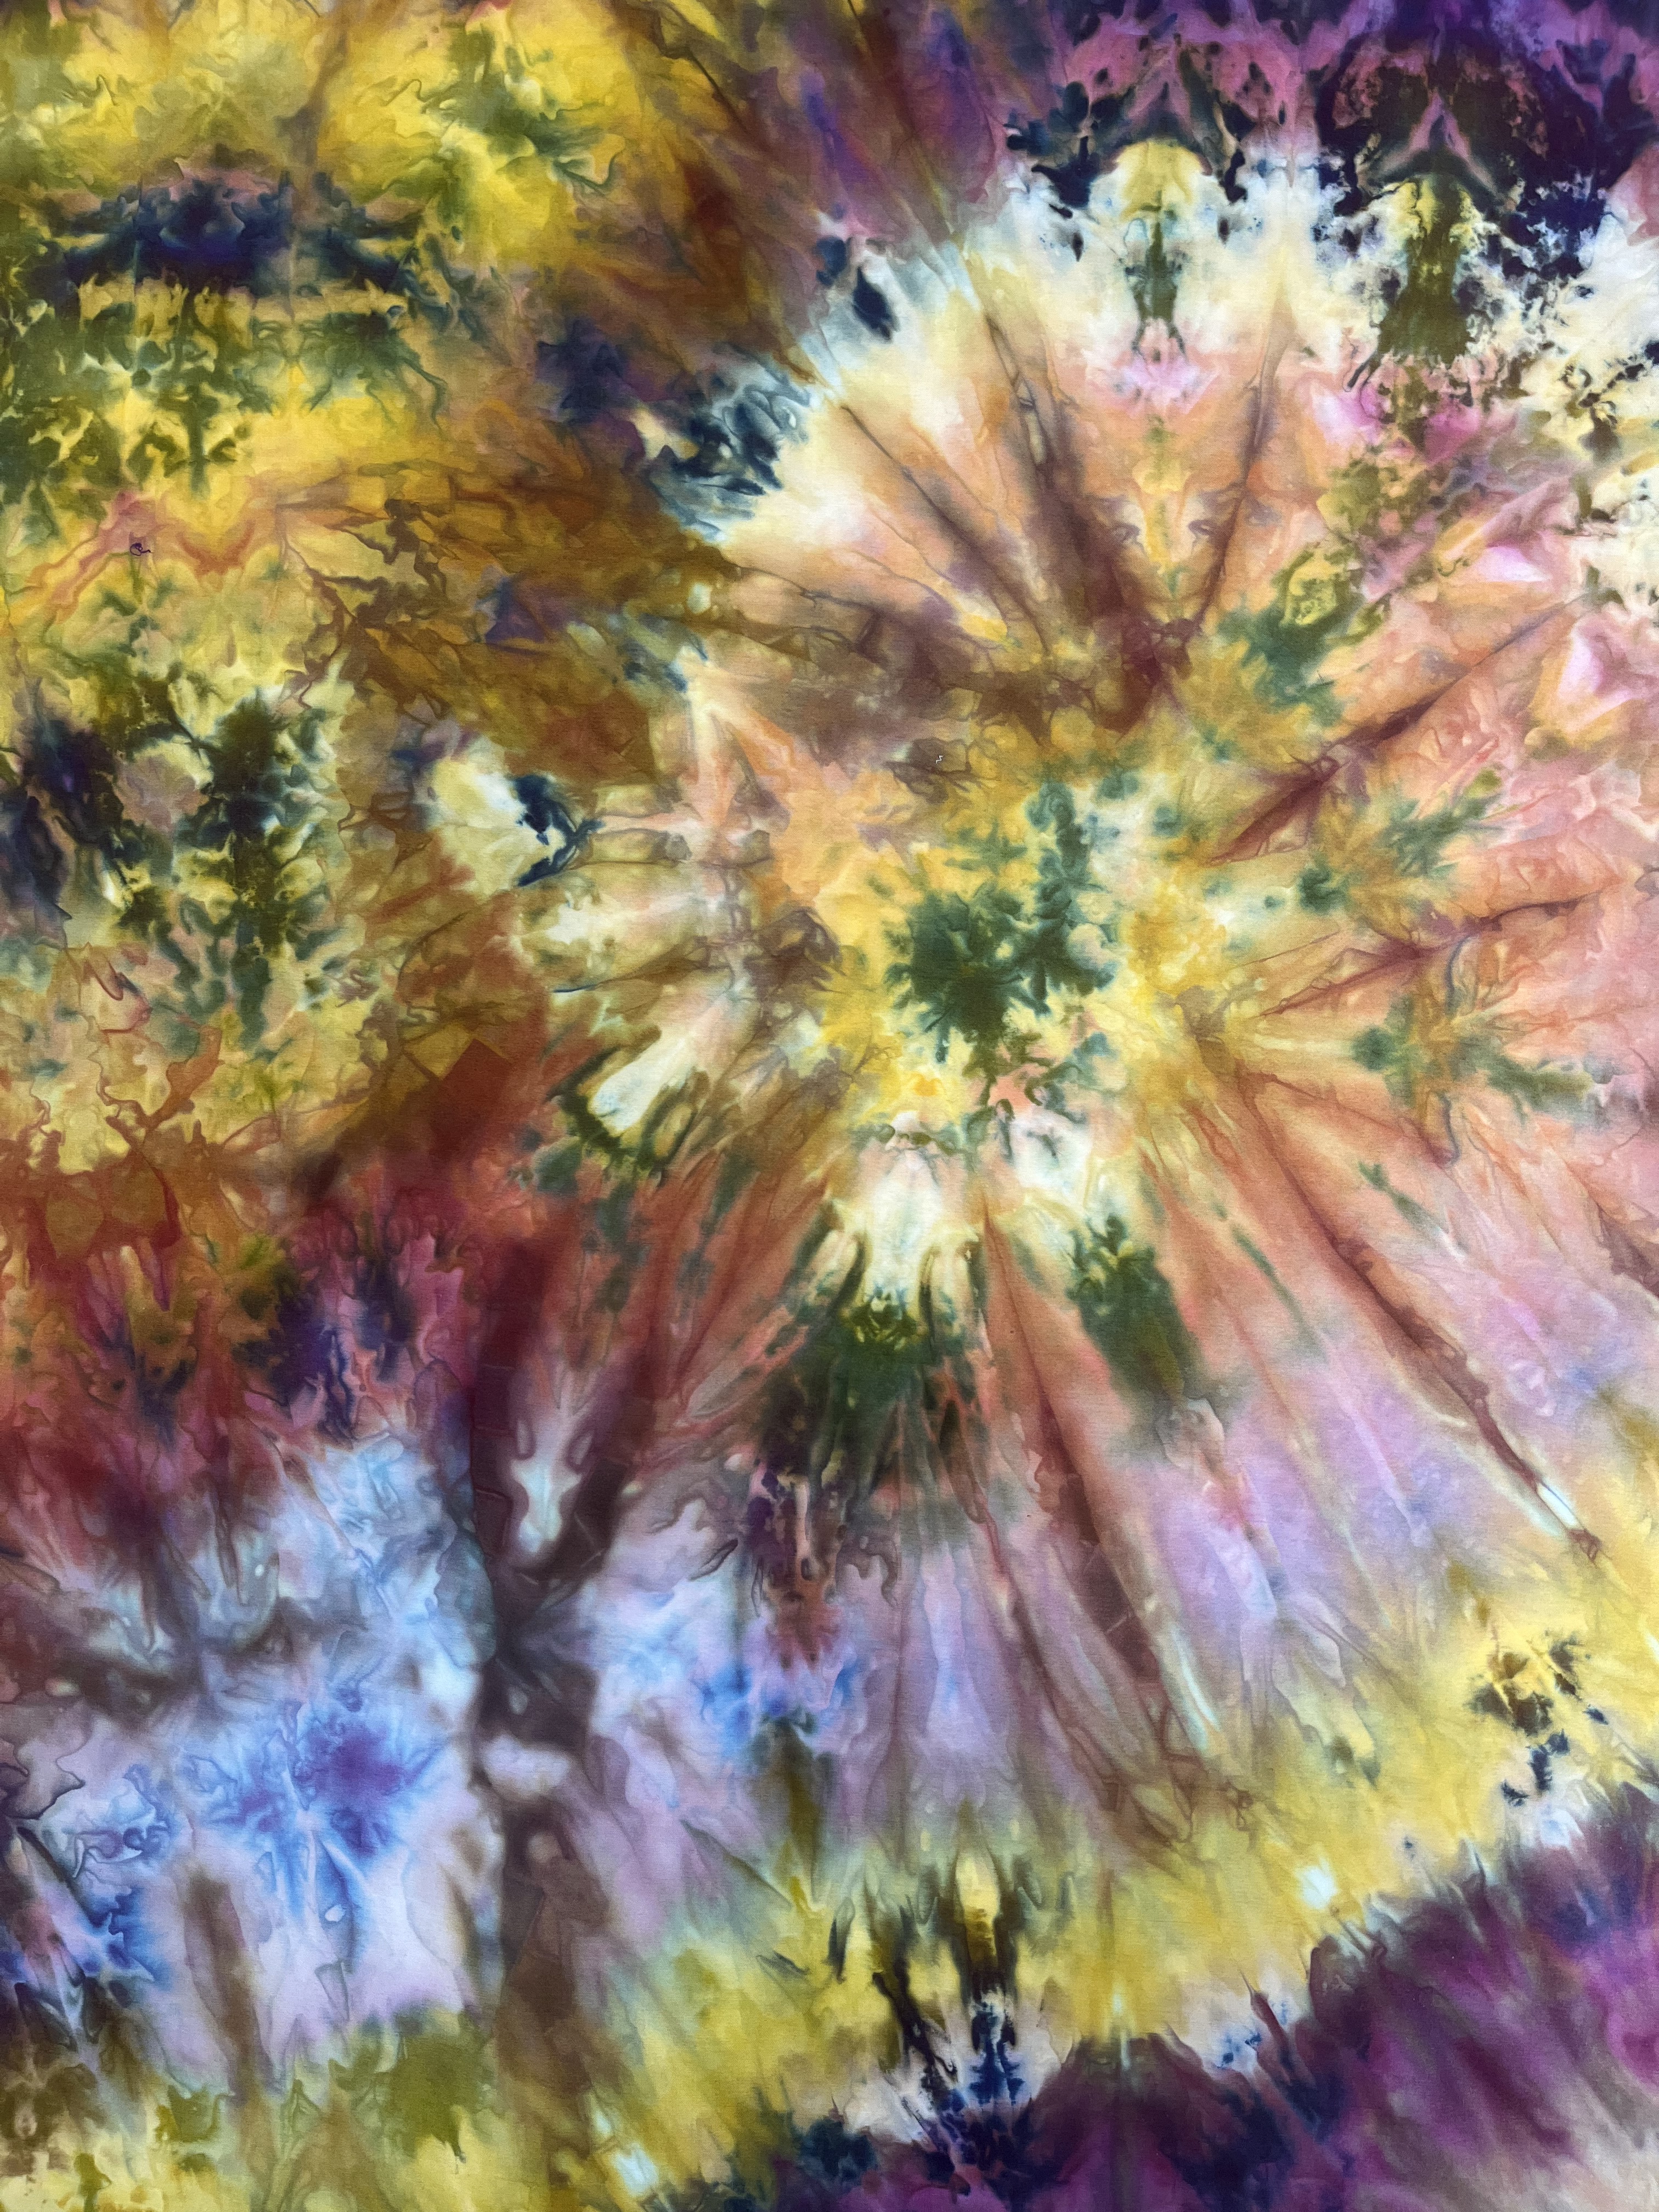
Ice Dyed Cotton
Artwork by Trish Joseph
Ice dye starts with a nicely timed snowfall followed by a very large grin.
I soak cotton fabric briefly in a soda ash solution, arrange it on a baking cooling rack or similar grid and cover it with gently packed snow. I place the grid over a basin so it can drain freely overnight without making a mess.
I gently sift colors of powered dye onto the item. Planning a specific design is almost impossible so I just cover the fabric with colors I like and hope for something interesting. As the snow melts it pulls the pigments through the fabric.
Complex colors or combinations of contrasting colors make the most subtle and intricate patterns.
Drip by drip the snow will achieve results only Nature can imagine.